
A DIY garage concrete grind and seal is a great way to improve the look of your garage floor while making it easier to clean and maintain. It can freshen up old concrete, reduce dust, and leave you with a practical sealed surface that looks neat and professional.
If you are considering doing your own garage concrete grind and seal, it is important to understand the process, use the right products, and take safety seriously. Below is a simple step-by-step guide to help you get started.

Why choose a grind and seal for your garage floor?
A garage concrete grind and seal is a popular choice because it offers a natural concrete look with added protection. It is often a practical option for homeowners who want a clean, durable finish without overcomplicating the project.
Some of the main benefits include:
- improved appearance
- easier cleaning and maintenance
- reduced dusting
- added surface protection
- a cost-effective upgrade for your garage
1. Prepare the area for grinding
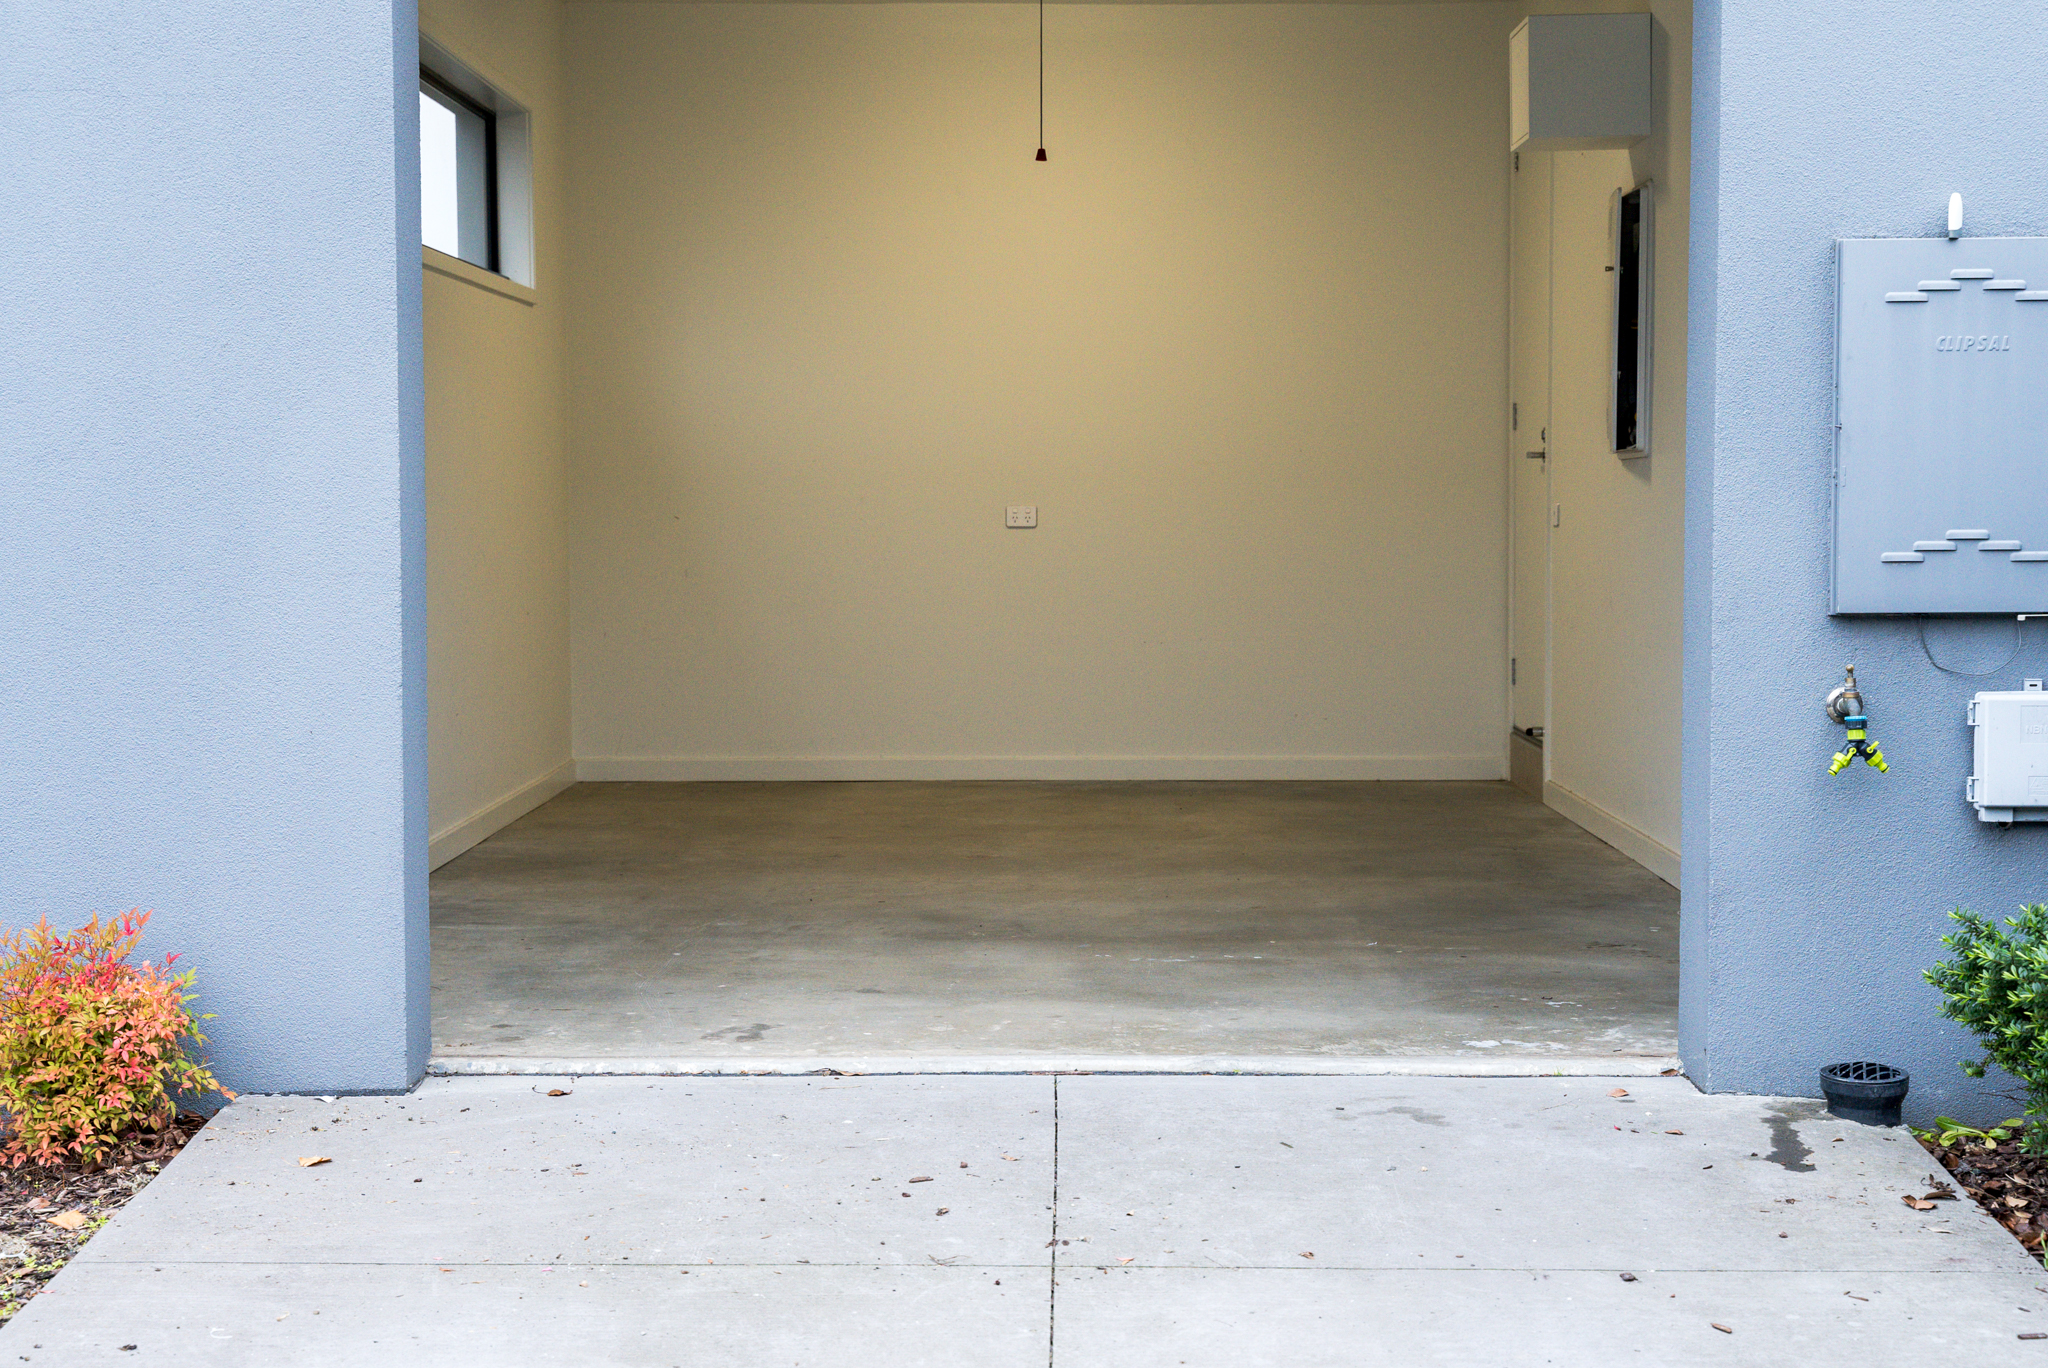
Start by clearing the garage completely. Remove cars, shelves, tools, and stored items. Sweep the floor and remove as much loose dust and debris as possible.
Check the concrete for oil, grease, paint, adhesive, or any other contamination that may affect grinding or sealer adhesion.
Good preparation is one of the most important parts of a successful DIY garage floor grind and seal.
2. Choosing your diamonds.
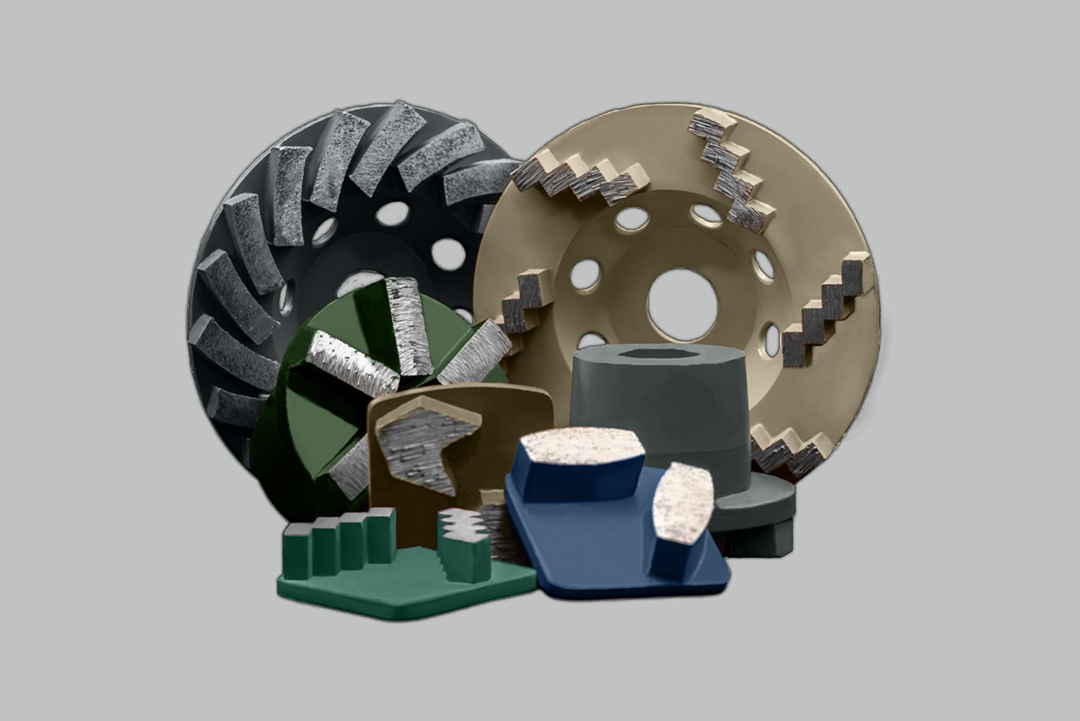
When hiring with Peninsula products when using out 480 Satellite Grinder, you will be generally supplied with the below diamond tooling:
| Tooling Type | Grit | Compound | Applications |
| Plugs – Yellow | 16 (Very Aggressive) | Soft | Useful for stubborn coating removal. |
| Plugs – Black | 30 (Aggressive) | Soft (for Hard Concrete) | For your first grinding pass on a hard concrete slab. |
| Plugs – Black | 30 (Aggressive) | Hard (for Soft Concrete) | For your first grinding pass on a soft concrete slab. |
| Discs – Black | 30 (Intermediate) | Medium (for all concrete) | For removing any swirls or roughness from the aggressive plugs. |
| Discs – Blue | 60/80G (Fine) | Medium (for all concrete) | For giving the floor a smooth finish, ready for sealer. |
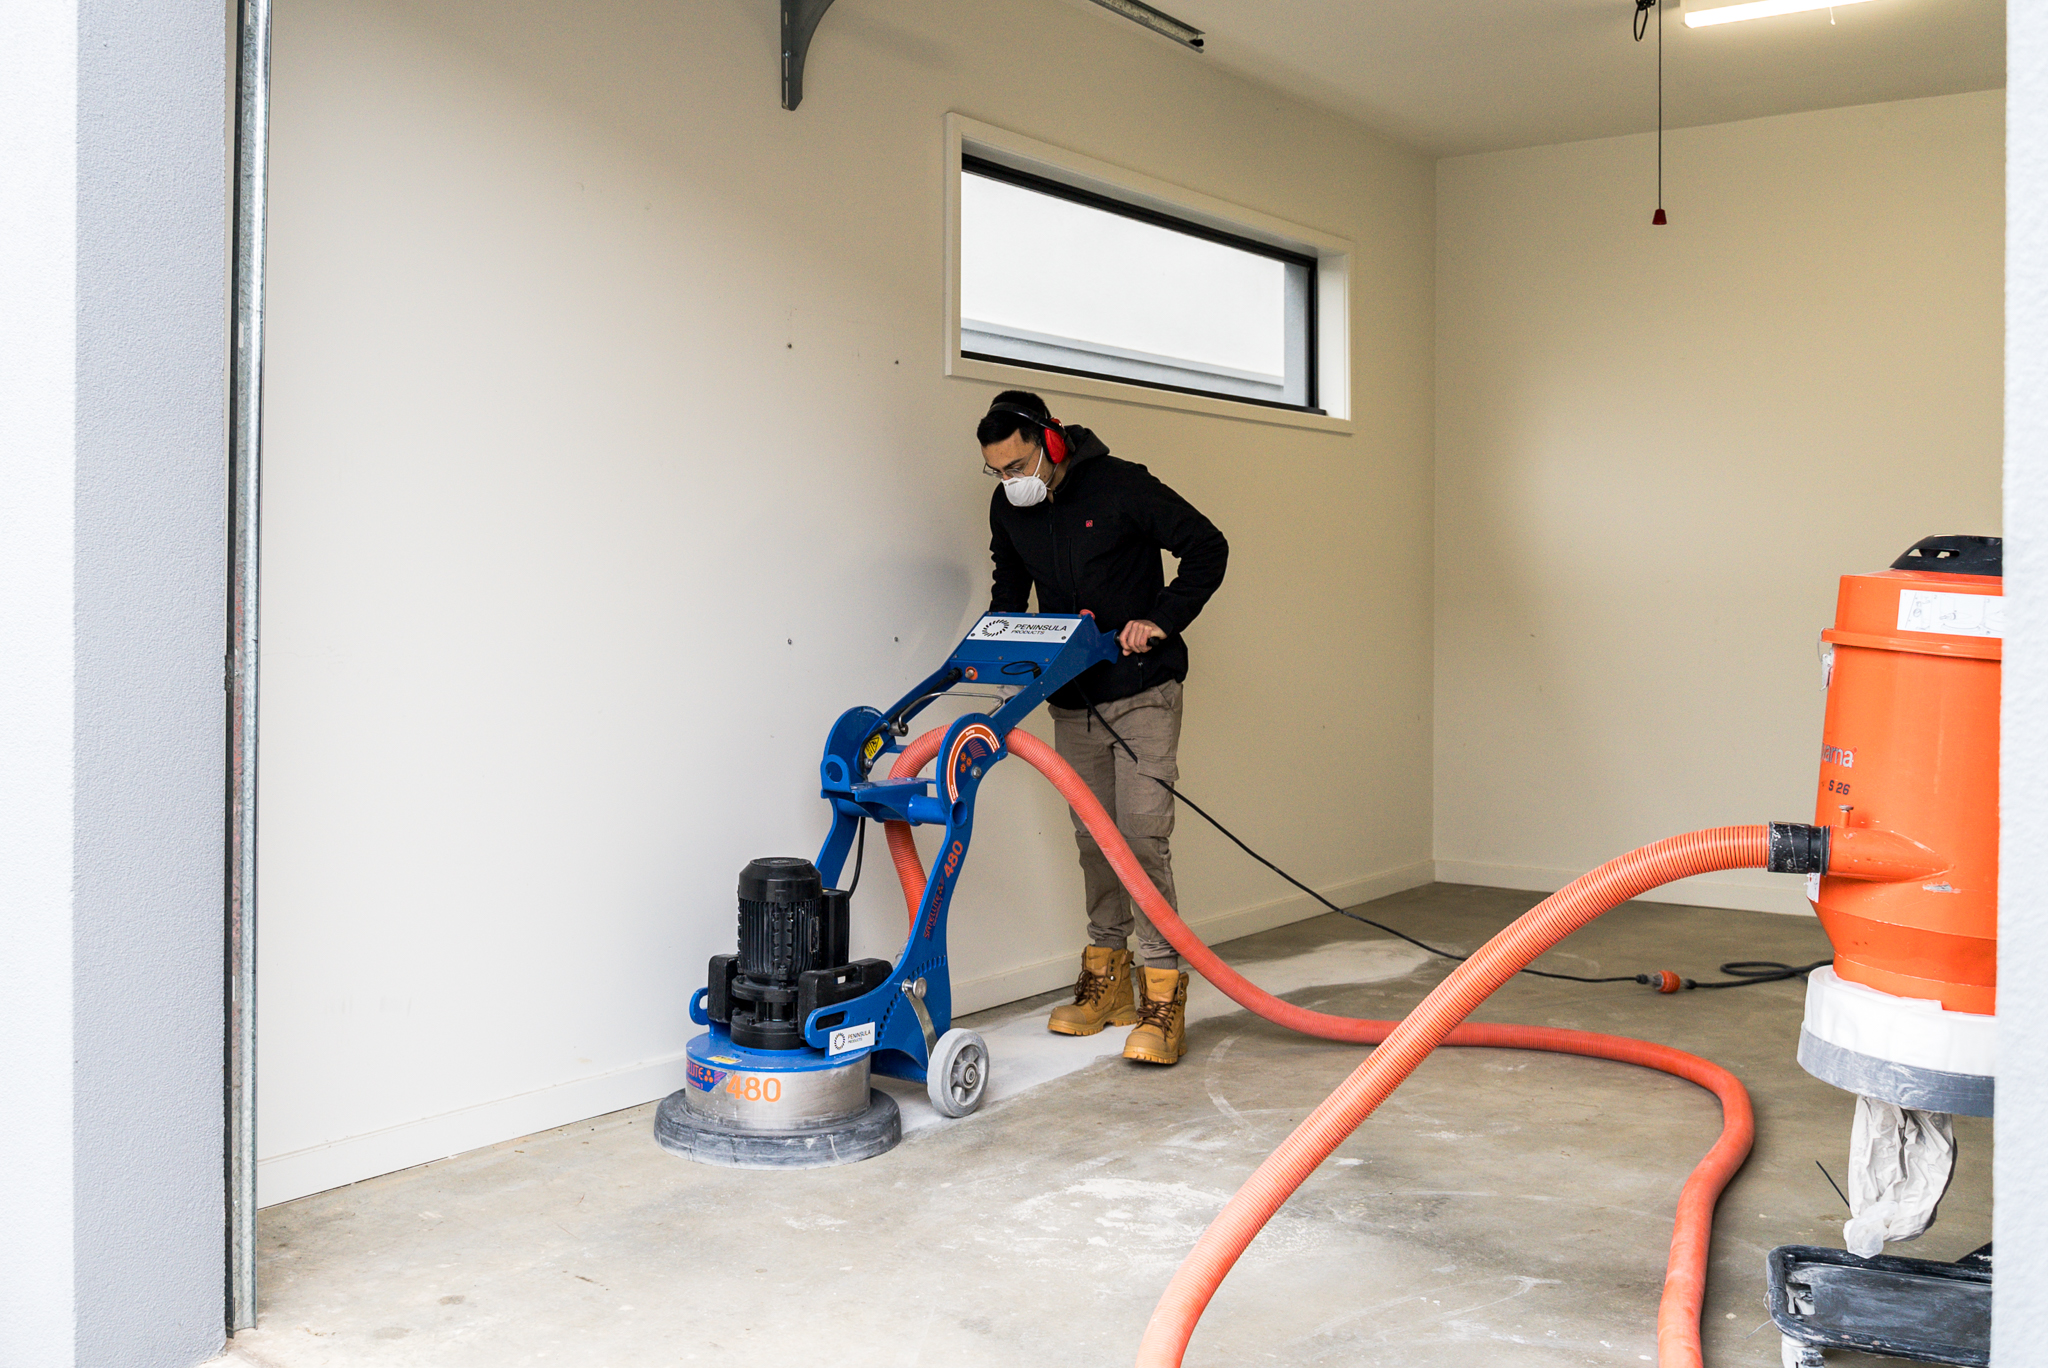
2. Grind the floor with aggressive 20–30 grit tooling
The first grind is completed using aggressive 20–30 grit diamonds. This opens the concrete, removes surface contamination, and prepares the floor for repair and further refinement.
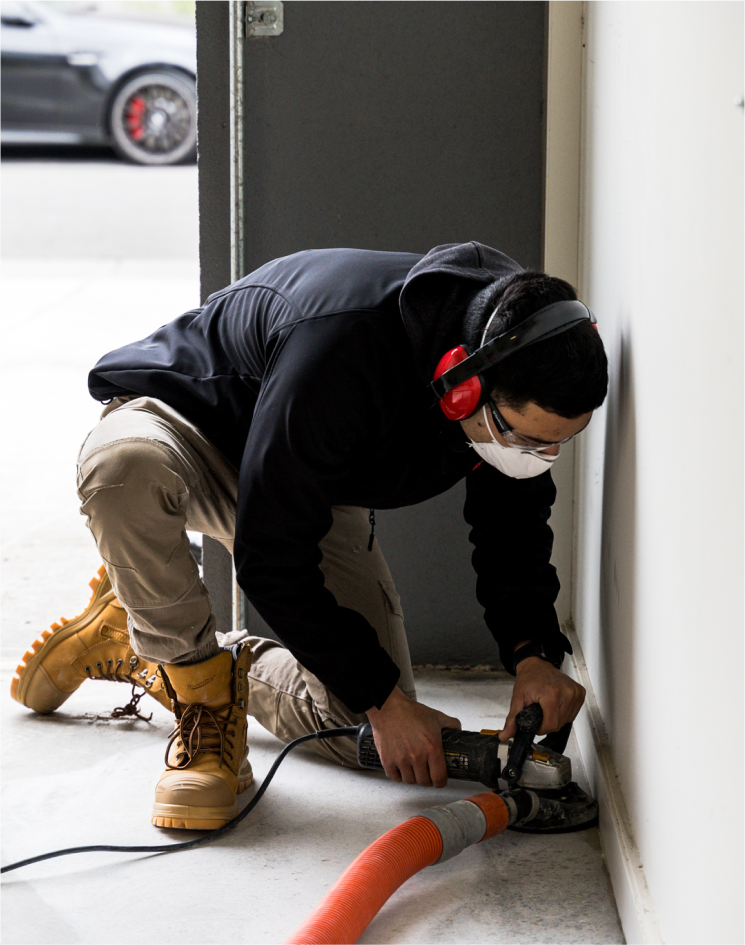
3. Use a hand grinder on the edges
Large grinders cannot usually reach right to the edges or into tighter areas. Use a hand grinder to complete edges and corners so the finish is more consistent across the whole floor. We normally suggest just running an 80 grit diamond wheel to complete the edges and one pass is normally sufficient.
4. Fill cracks and holes
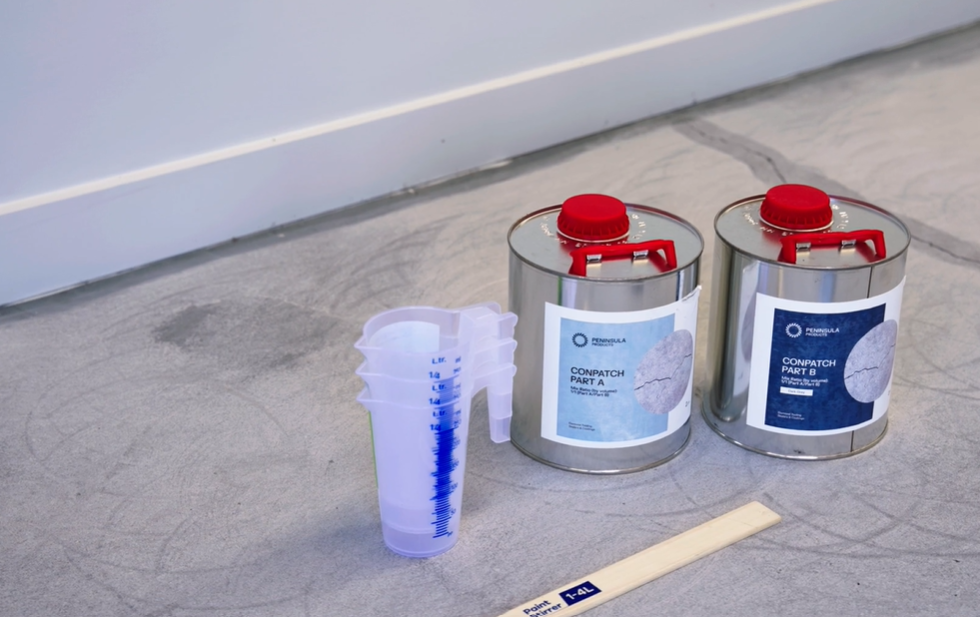
After the initial grind, repair any cracks and holes using the Peninsula Products 4L Conpatch Repair Kit.
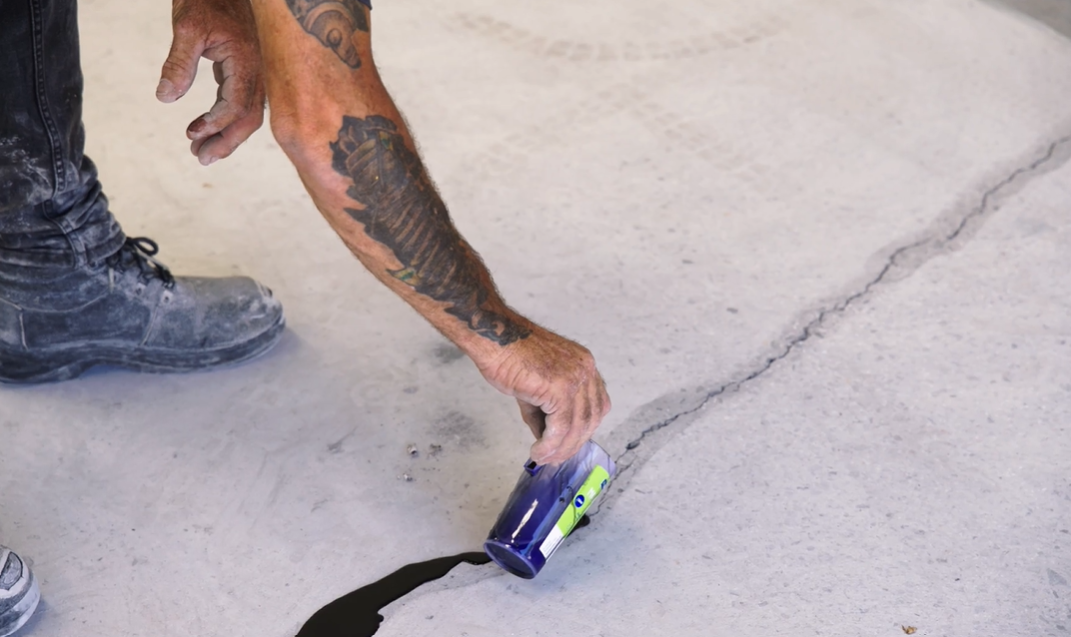
Important note: The ConPatch Kit is designed to cure very quickly. Mix small amounts (around 200ml at a time), mix for no more than 20 seconds and quickly pour the product into the affected areas.
It is best to overfill cracks and holes slightly. This allows the repair material to be ground back flush once cured.
5. Grind off excess Conpatch
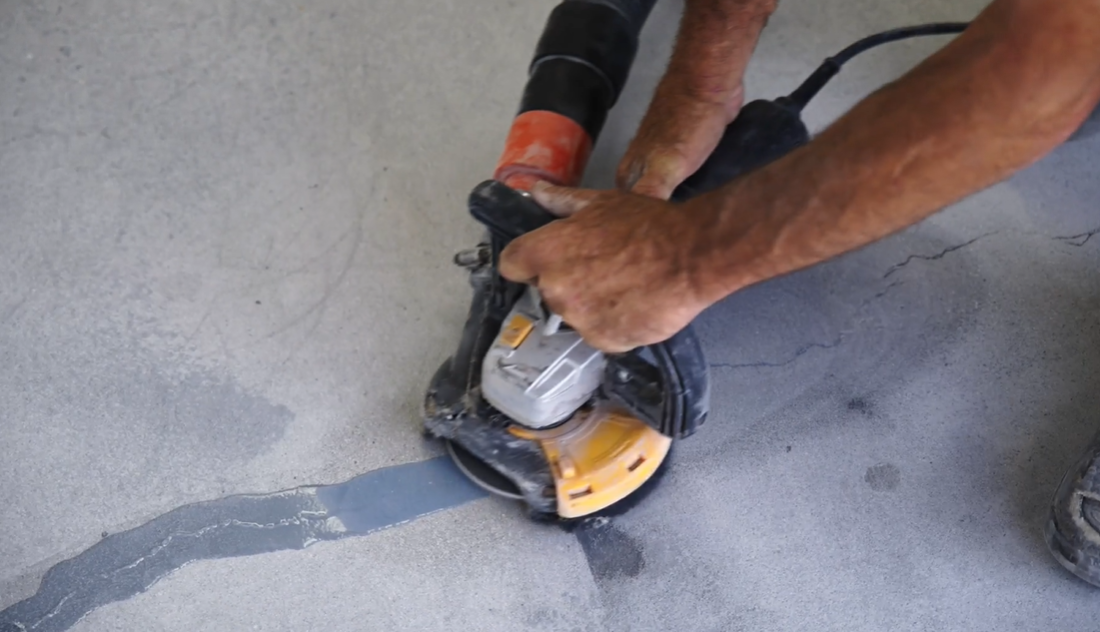
Once the repair product has cured, use a hand grinder to remove the excess material and level the repaired areas with the rest of the concrete.
This helps create a cleaner final result.
6. Grind the floor using fine 80 grit diamonds
After repairs are complete, grind the full floor again using 80 grit diamonds. This refines the surface and better prepares it for sealer application.
7. Vacuum the floor thoroughly
Before sealing, the floor must be vacuumed thoroughly. Remove all dust and loose particles, including around edges and corners.
A clean floor is critical for a good sealer finish.
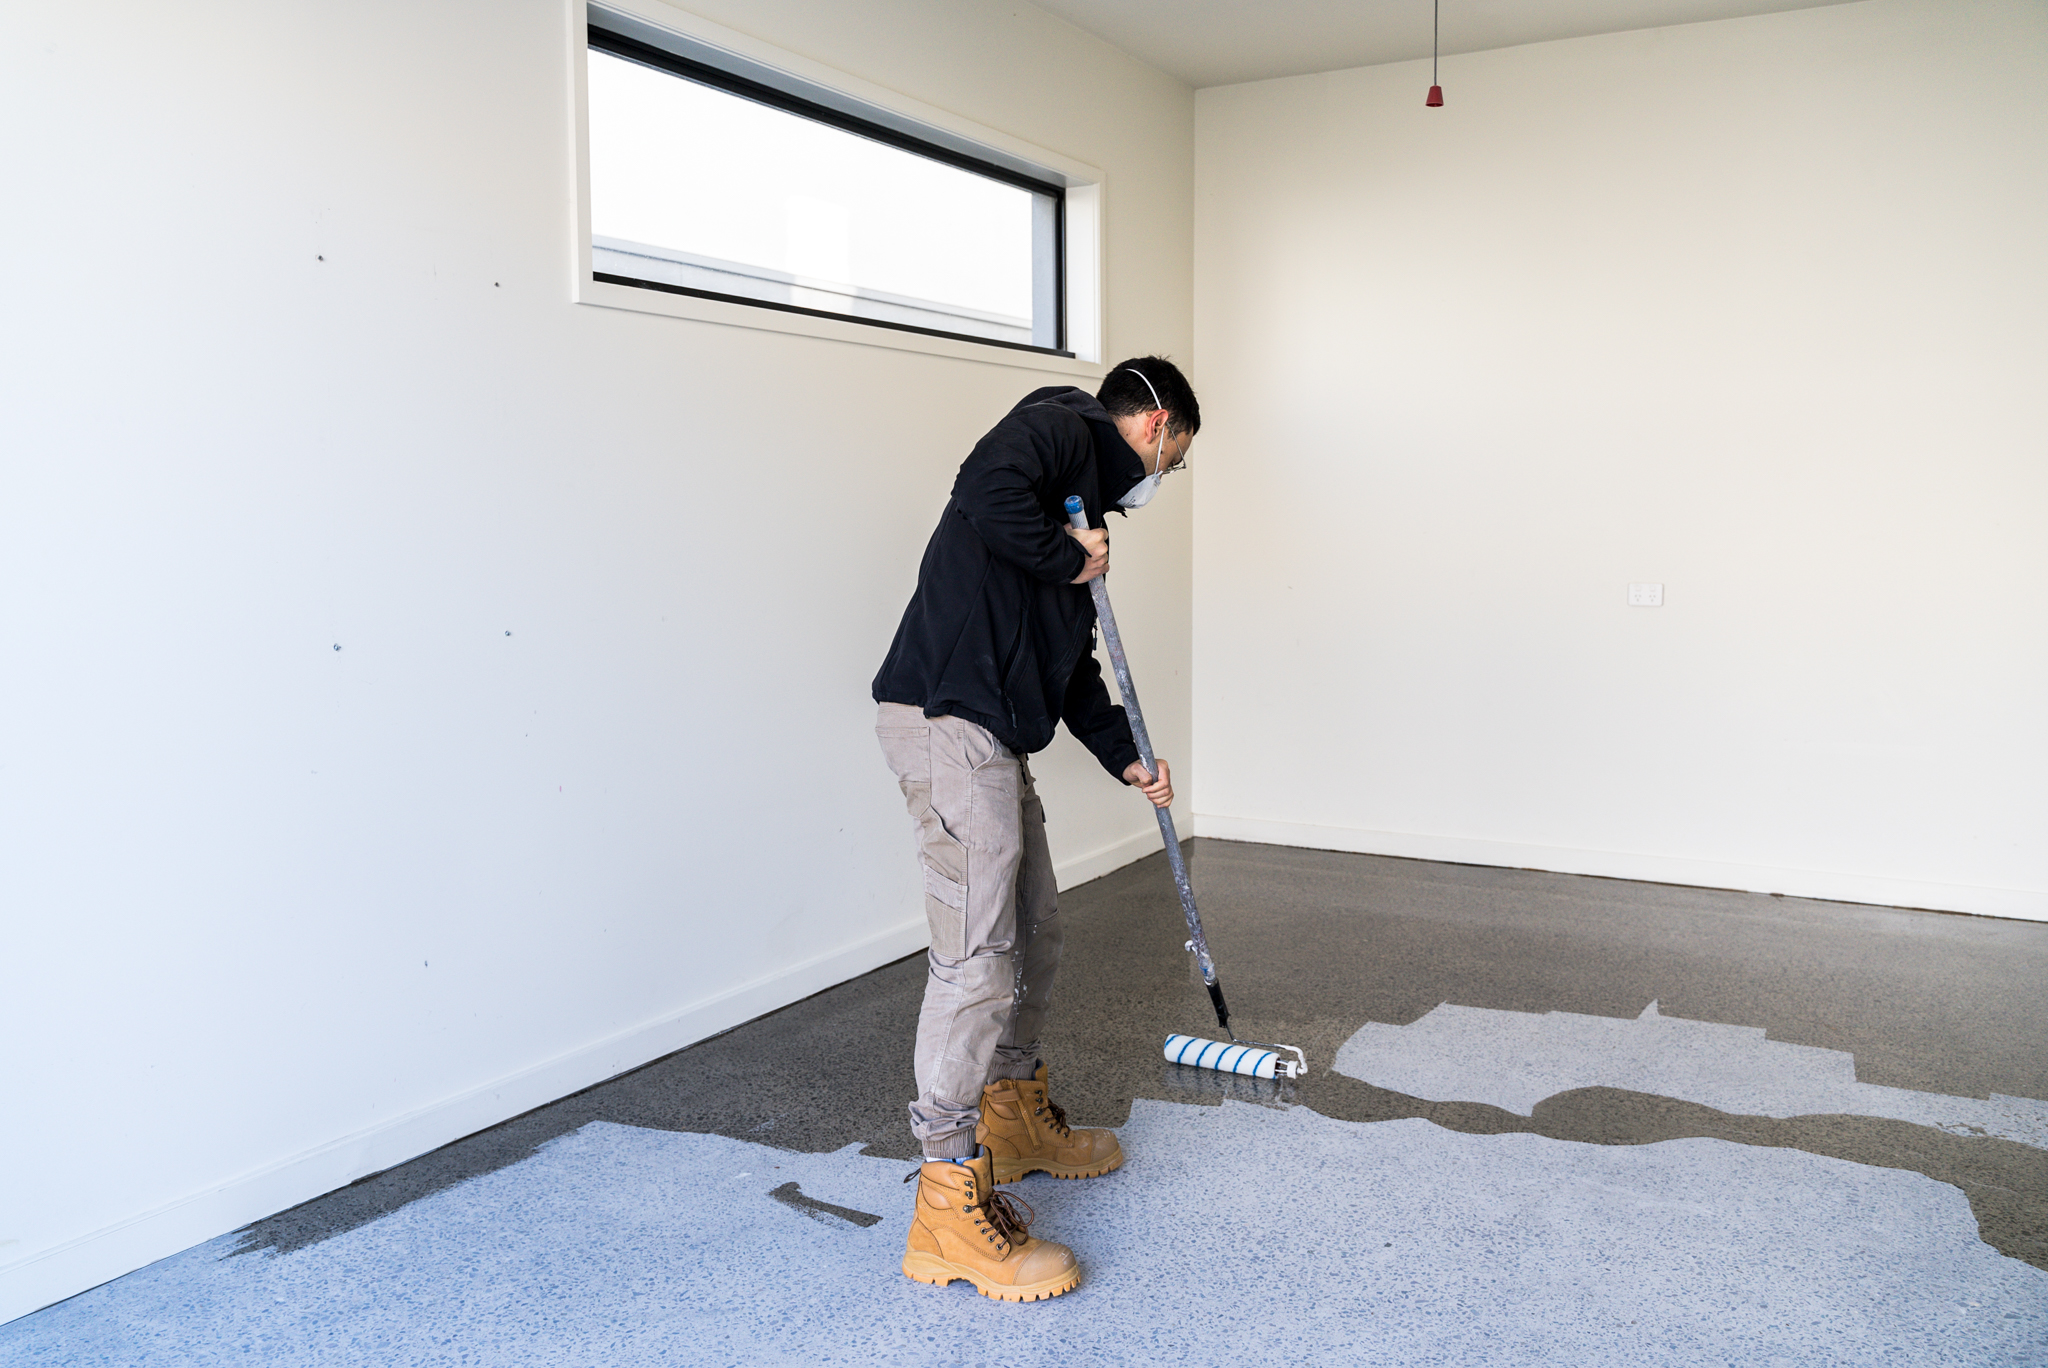
8. Apply 2–3 coats of sealer
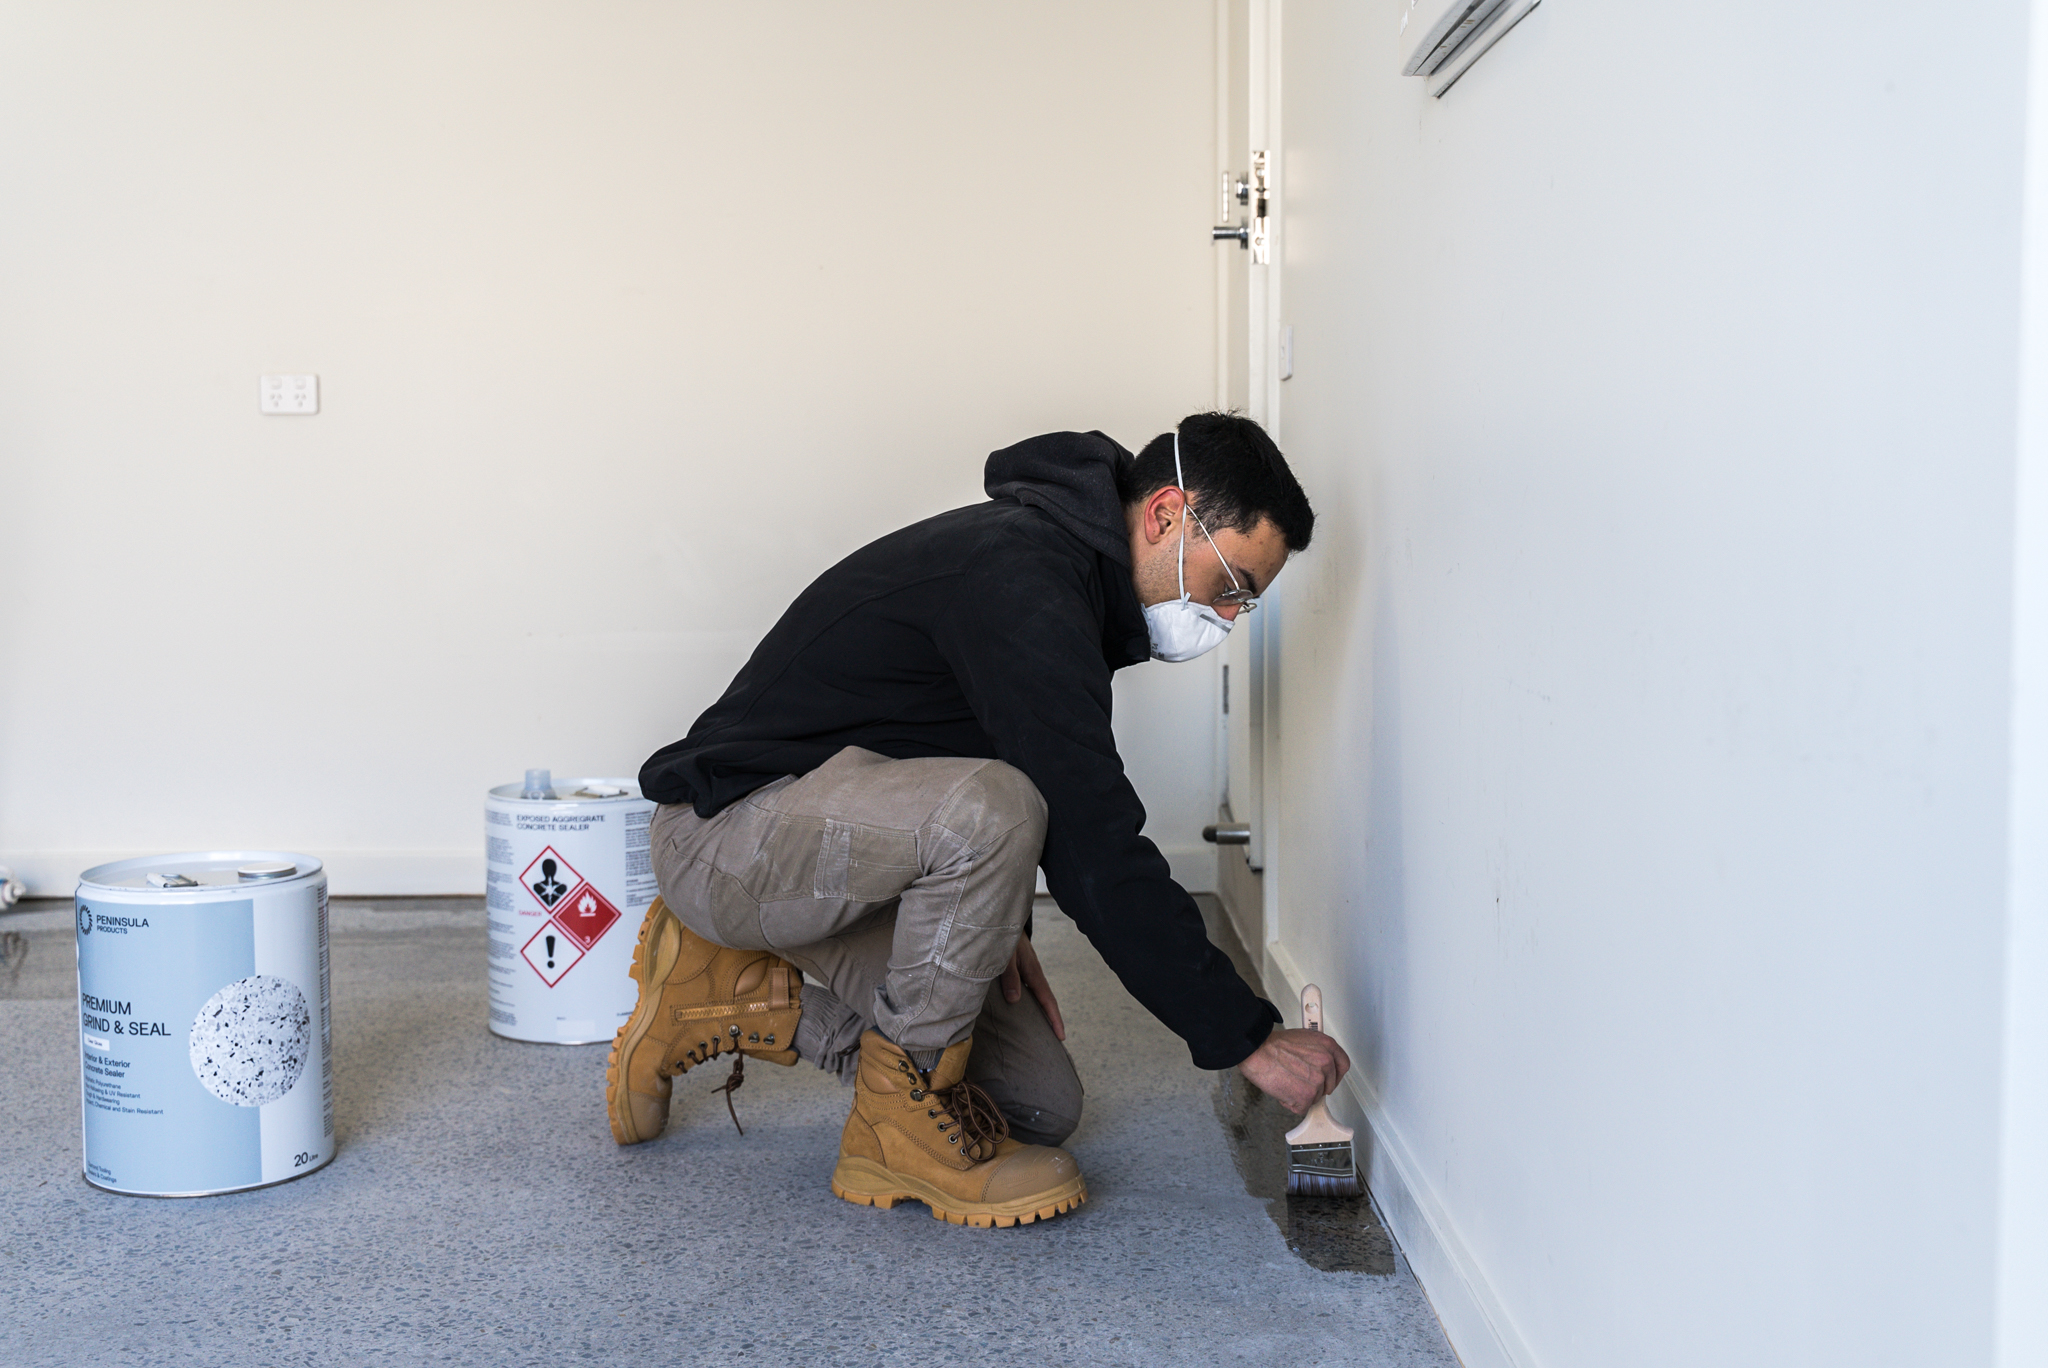
Roll out 2 to 3 coats of Peninsula Products Premium Grind & Seal Concrete Sealer.
Use a 10 to 15mm nap roller (microfiber or mohair). Try to maintain a wet edge and consistent roll pattern. Re-coat between 12 and 48 hours. Usually 2 coats is sufficient however, inspect after two coats and if patchiness is evident then apply a 3rd coat.
9. Allow proper cure time
Once sealing is complete, allow the floor to cure before using it:
- walking traffic: after 1 full day
- vehicle traffic: after 7 days
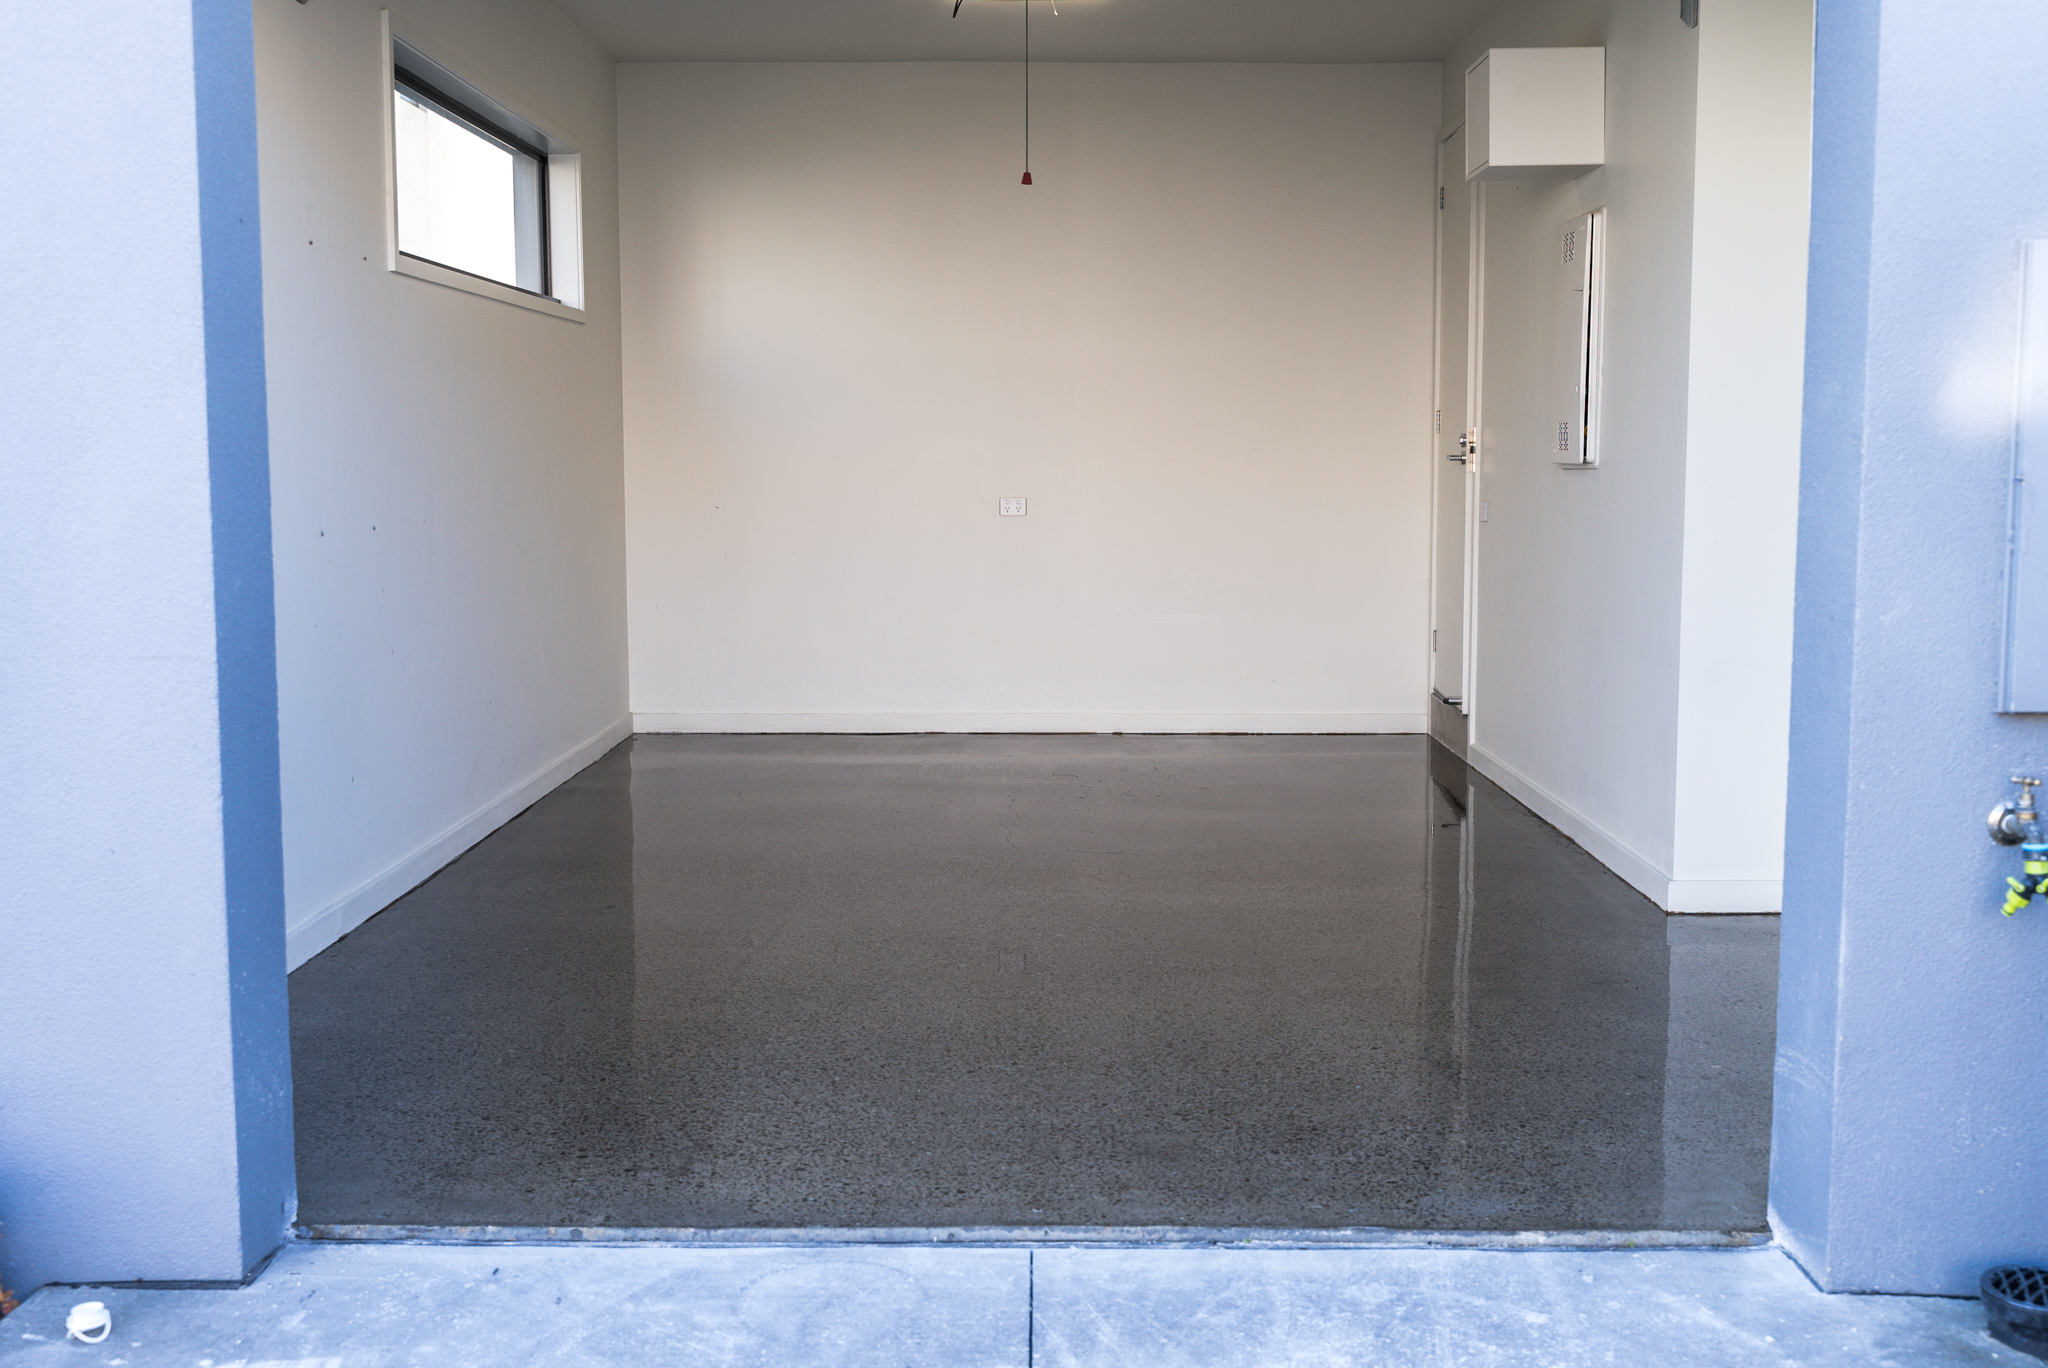
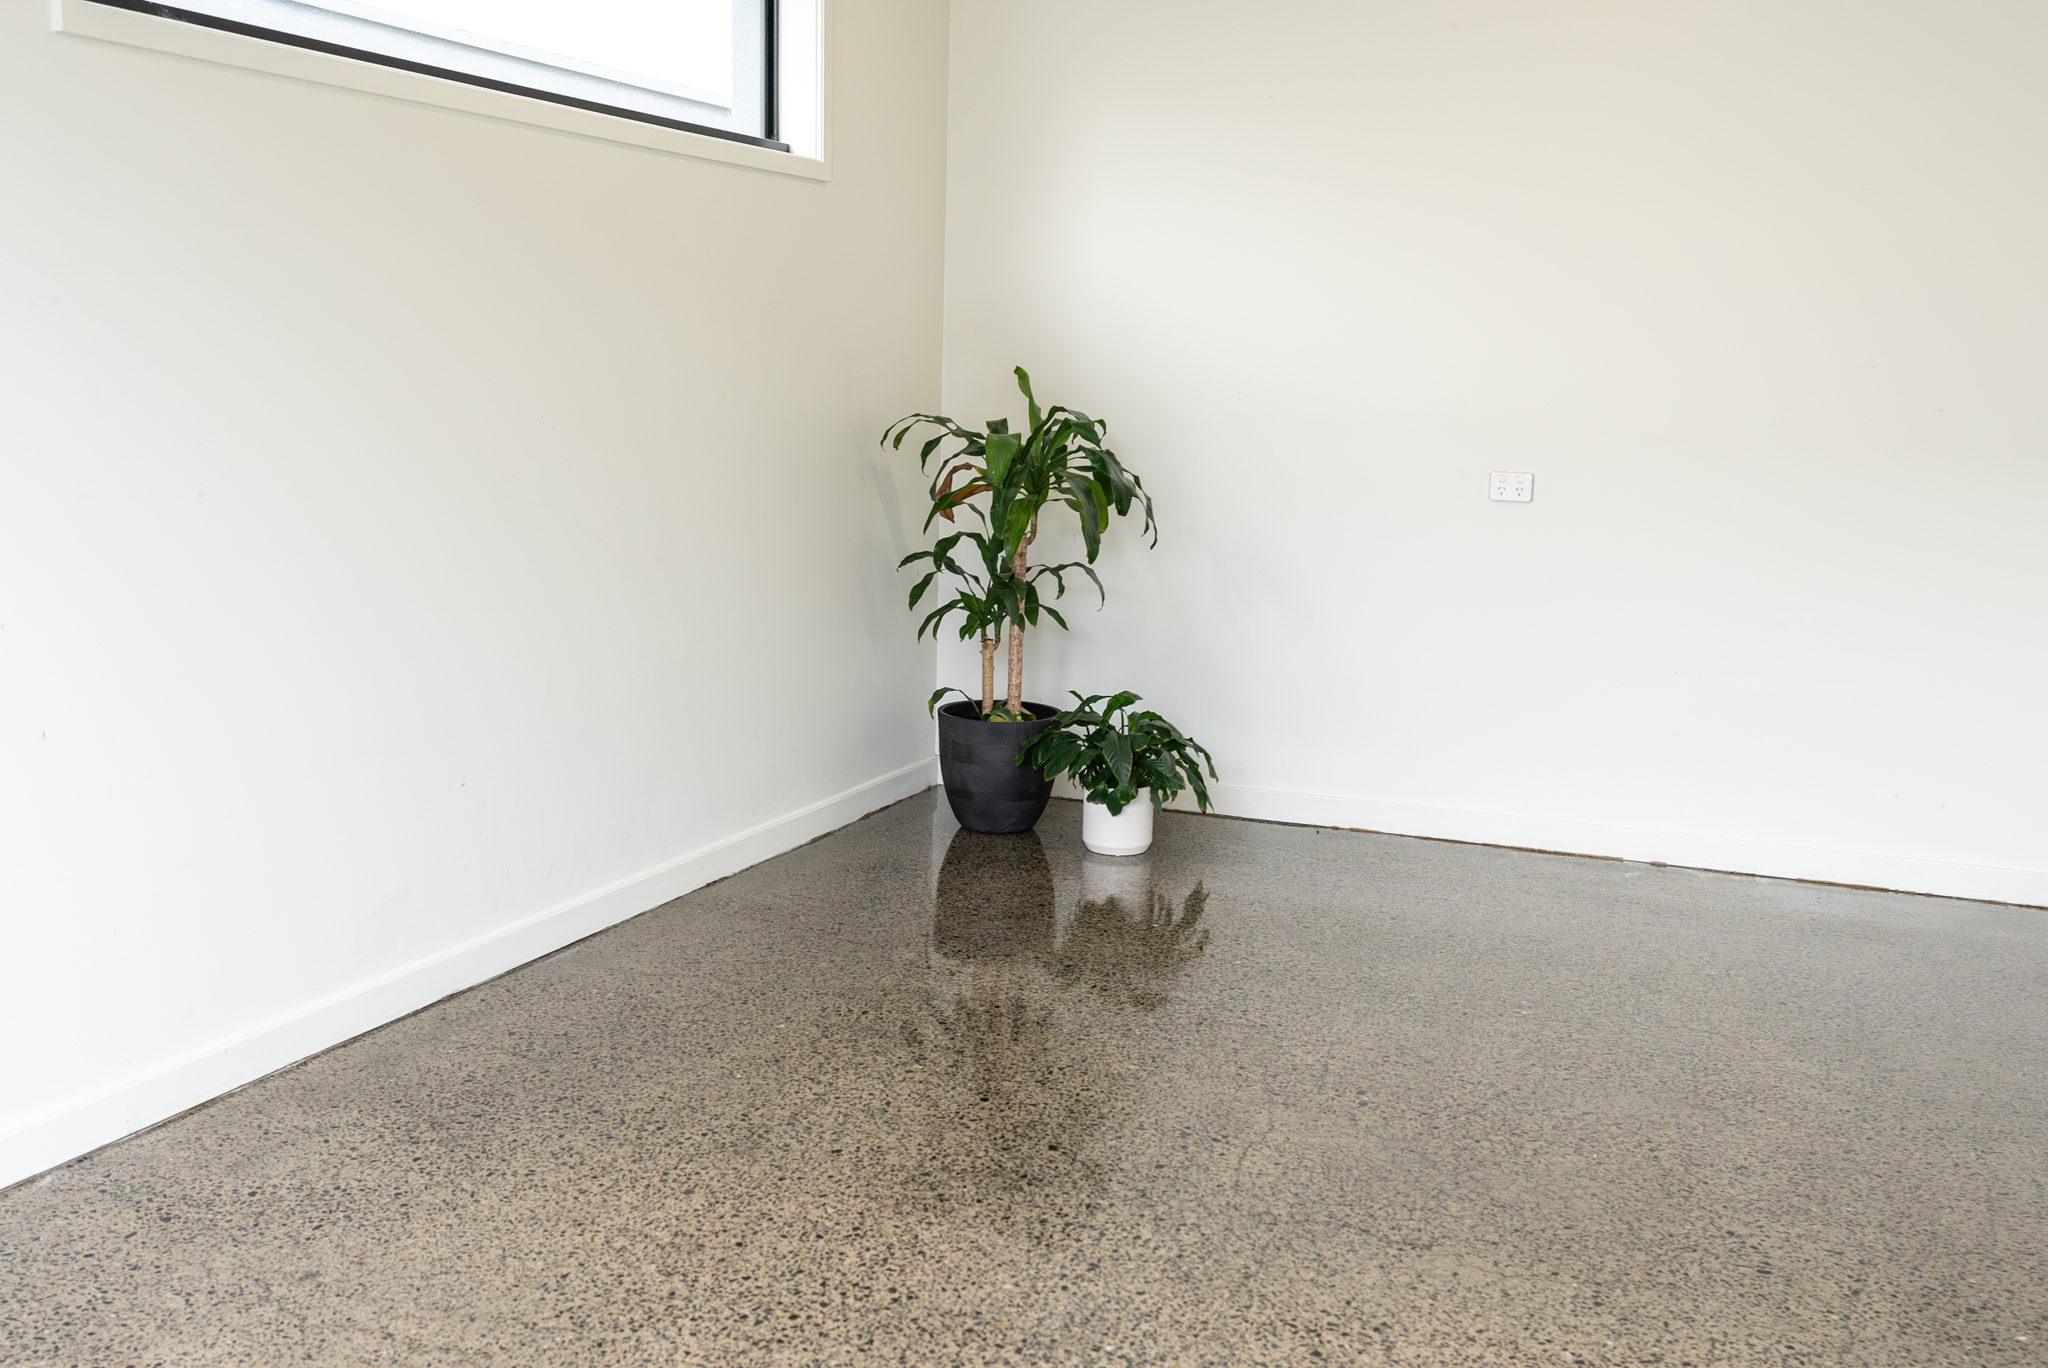
Giving the sealer enough time to cure is important for the durability of your garage floor grind and seal.
READY TO BOOK?
Safety notes for DIY concrete grinding and sealing
Safety should always be a priority during a DIY garage concrete grind and seal project.
Concrete grinding creates fine dust, and in some cases this may include silica dust. Breathing in concrete dust can be harmful, so proper dust control and PPE are essential.
Recommended safety measures include:
- wear a properly fitted P2 or P3 respirator
- wear hearing protection
- wear safety glasses
- wear gloves and suitable workwear
- use a grinder connected to an appropriate dust extraction vacuum
- keep the workspace well ventilated
- read all equipment and product safety instructions before use
- keep children and pets out of the area
- avoid rushing the job, especially during grinding and sealer application
If you are unsure about dust control, PPE, or safe use of grinding equipment, get advice before starting.
Common questions about DIY garage concrete grind and seal
How do I grind and seal a garage floor?
The basic process is to prepare the area, complete an initial grind with aggressive diamonds, edge grind with a hand grinder, repair cracks and holes, grind again with finer diamonds, vacuum thoroughly, and apply 2 to 3 coats of sealer.
What grit should I use to grind a garage floor?
A common process is to start with 20–30 grit diamonds for the first cut, then use 80 grit diamonds before sealing.
Do I need to repair cracks before sealing?
Yes. Cracks and holes should be repaired before final grinding and sealing to achieve a cleaner, more even result.
What product can I use to fill garage floor cracks and holes?
The Peninsula Products 4L Conpatch Repair Kit is a suitable option for repairing cracks and holes before sealing.
How many coats of sealer should I apply?
Most garage concrete grind and seal jobs will require 2 to 3 coats of sealer, this will depend on the porosity of the floor. You will need to inspect the surface after the 2nd coat to ascertain if a 3rd quote is required.
How long before I can walk on the floor?
You should allow 1 full day before walking traffic.
How long before I can drive on the floor?
You should allow 3-4 days before vehicle traffic.
Is DIY concrete grind and seal worth it?
For many homeowners, yes. A DIY garage concrete grind and seal can be a practical and cost-effective way to improve the appearance and usability of a garage floor, provided the process is followed correctly.
Why use Peninsula Products?
At Peninsula Products, we supply products designed to help you get the job done properly. From repairing cracks and holes with our 4L Conpatch Repair Kit through to protecting the finished surface with Premium Grind & Seal Concrete Sealer, we offer solutions for your garage floor project.
If you are planning a DIY garage concrete grind and seal, using the right repair and sealing products can make a big difference to the final result.
Final thoughts
A DIY garage concrete grind and seal is a simple and effective way to improve your garage floor. With the right preparation, the right grinding process, proper repairs, and quality sealer, you can create a finish that looks good and performs well.
If you are ready to get started, Peninsula Products has the products you need to repair, seal, and protect your concrete floor.